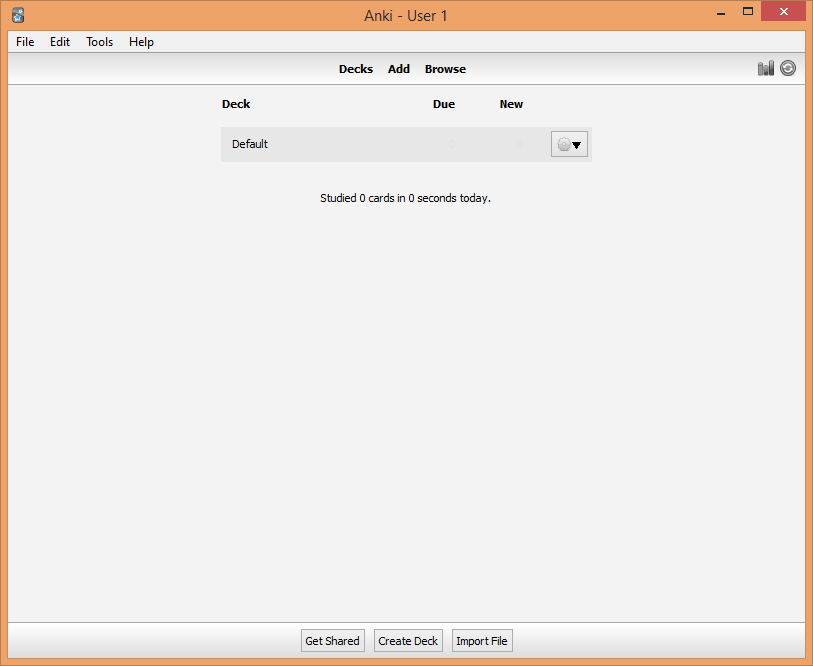
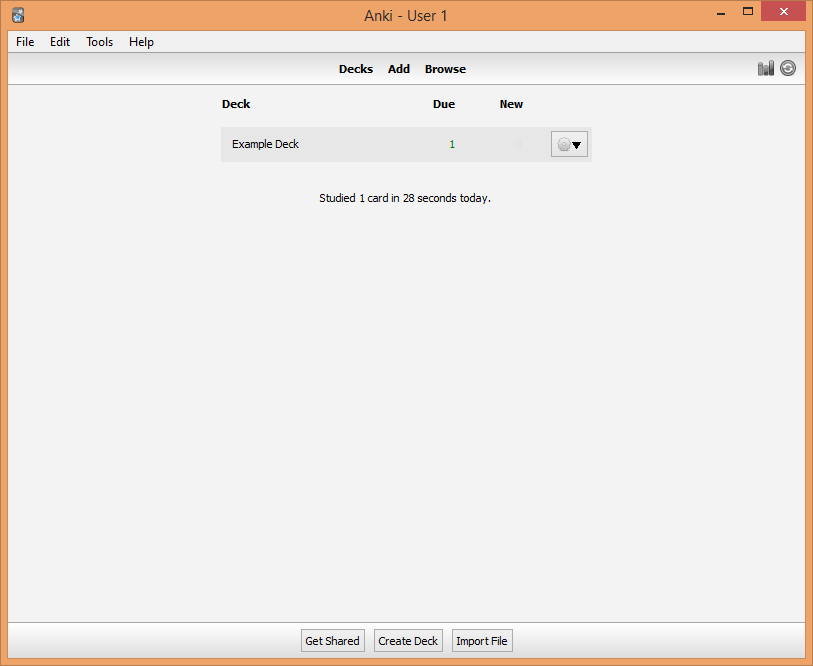
After installing and opening the program, you should be presented with this screen:
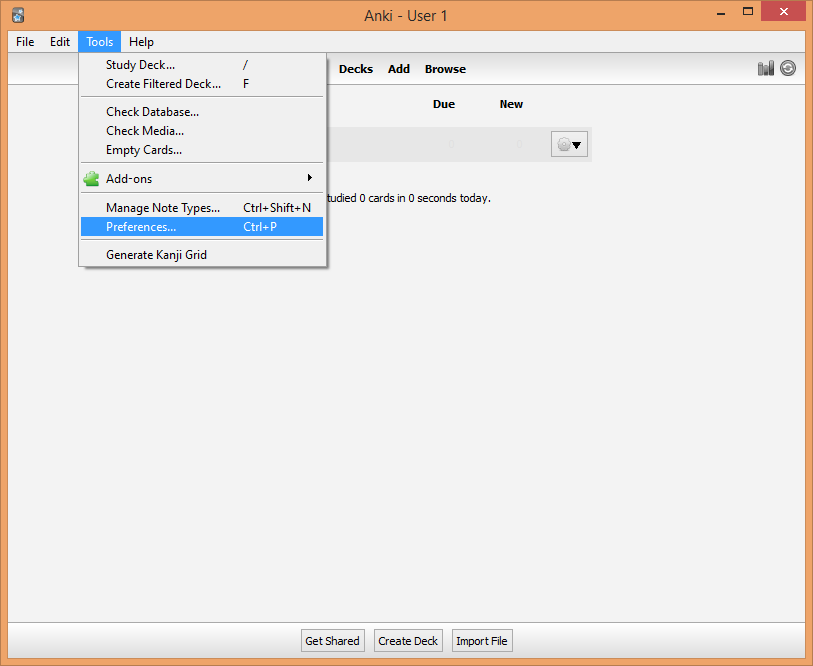
Let's first configure the settings, by going to Tools -> Preferences...
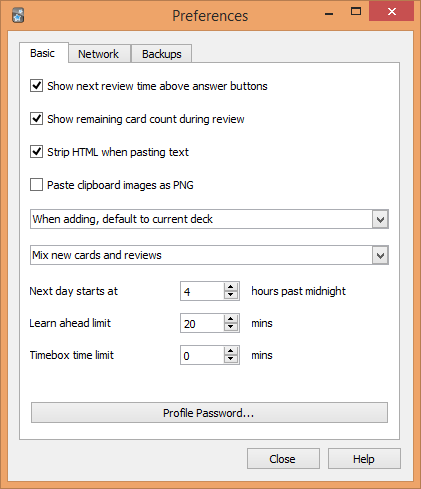
There are 3 tabs.
The first is for basic settings. The first 2, Show next review time above answer buttons... and Show remaining card count during review are interface options. I would leave them checked.
The next 2 checkboxes are useability options.
The first dropdown controls where new cards go by default.
The second dropdown is for how you want new cards to appear - before you review, after you review, or intermixed with your reviews?
Next day starts at lets you select what time you want the next day's review to appear at, in 24 hour time.
The other 2 textboxes are for custom review modes, and don't need to be changed for now.
The Profile Password... button lets you password-protect your Anki profile.
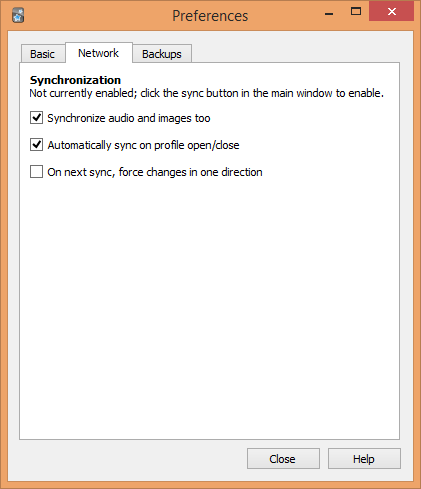
The next tab, Network controls synchronisation options.
Synchronize audio and images too will sync your media. If left unchecked, media will not be synced.
Automatically sync on profile open/close will, when checked, automatically sync whenever you open/close Anki or switch profiles.
By default, Anki will sync only changes. If On next sync, force changes in one direction is checked, the next time you sync, Anki will prompt you to either upload your entire database or download and override your entire database. This is not something you need unless you fuck up your decks badly.
You can just leave these as the defaults for now.
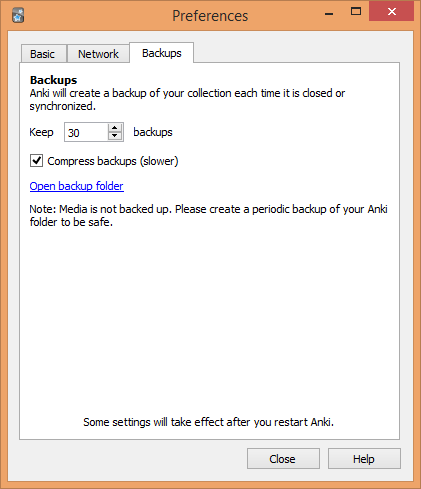
The next tab, Backups is pretty self-explanatory. These options control how Anki backs up your data, client-side.
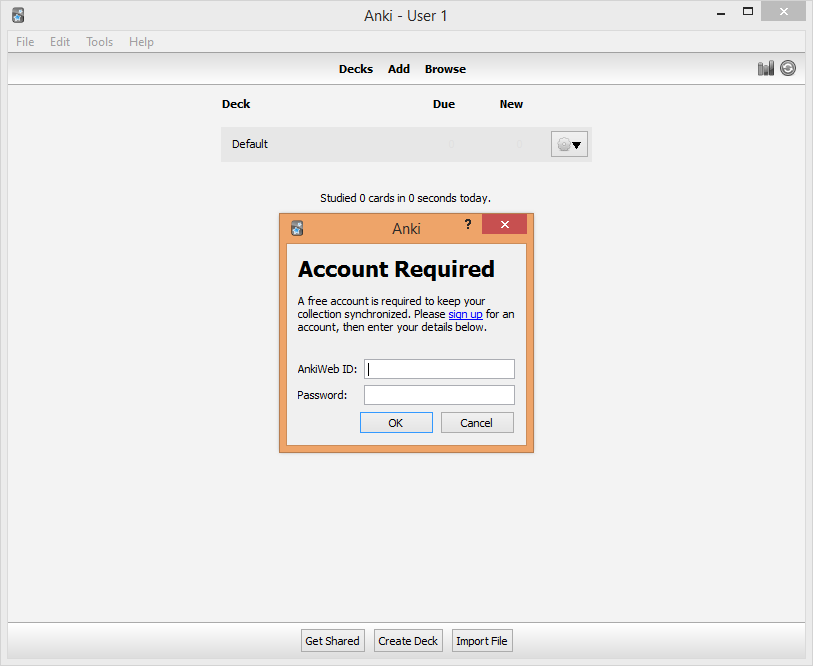
Now that we're done configuring Anki preferences, let's set up sync. Syncing is a feature that lets you use Anki from multiple devices without having to do redundant reviews. It also allows you to access and review from your Anki deck online at ankiweb.net. To use it, click the button highlighted in red:
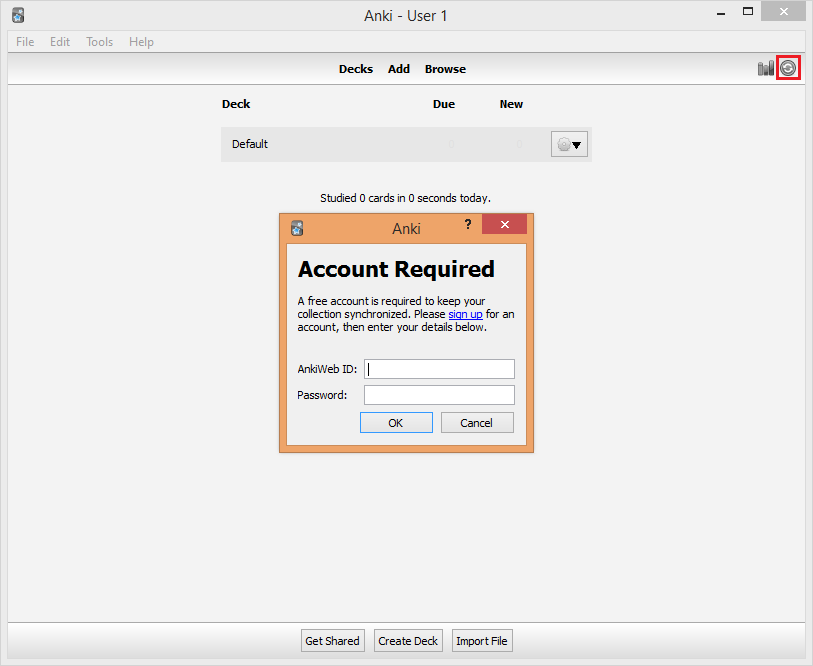
This window should then pop up. Click sign up to sign up for an account at ankiweb.net. Then input your ID and password to set up the sync.
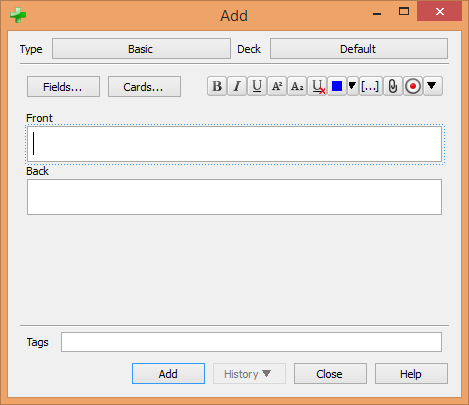
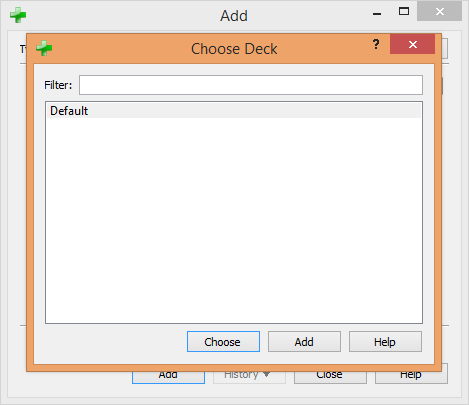
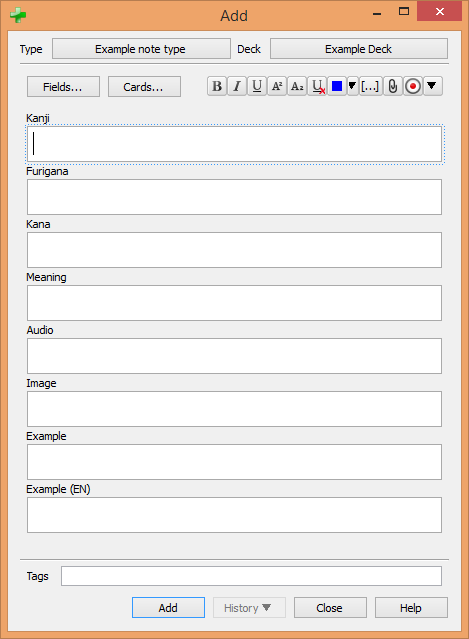
Let's now create our first deck. Click Add from the top bar on the main window. It's right under the menubar. The following window should pop up.
Click on the Default next to Deck to open the deck manager.
Click Add.
Choose a suitable name for your new deck, then click OK.
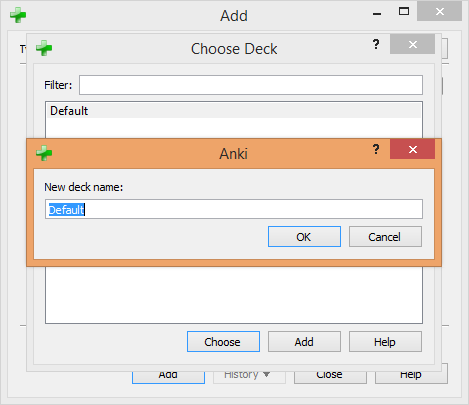
Choose a suitable name for your new deck, then click OK. Now go back to the Add window.
We're now going to add a new note type. This is what dictates the format of your cards.
Click the Basic next to Type to bring up the note type choice list:
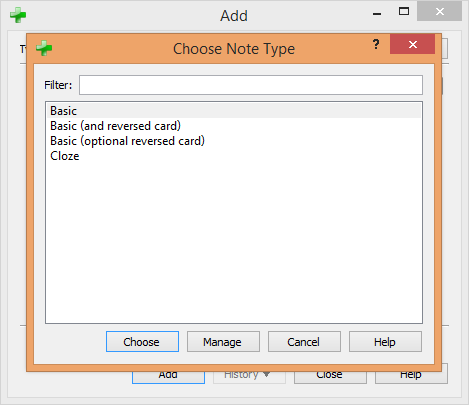
Now click Manage to bring up the note type manager:
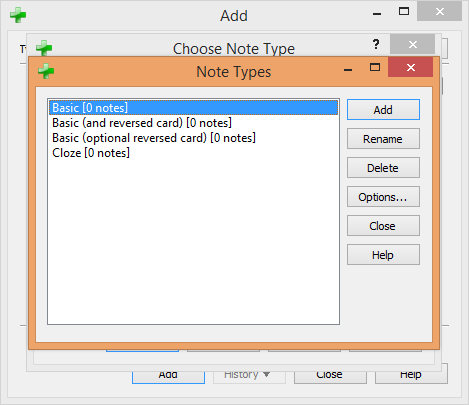
Click Add.
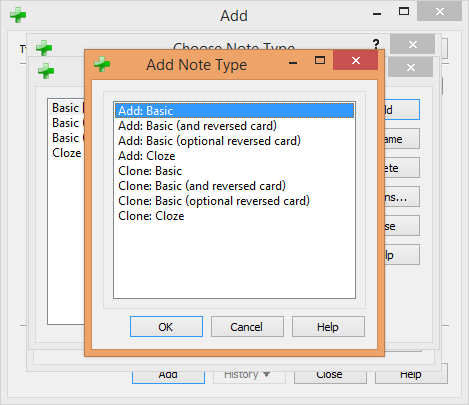
Select Add: Basic and click OK
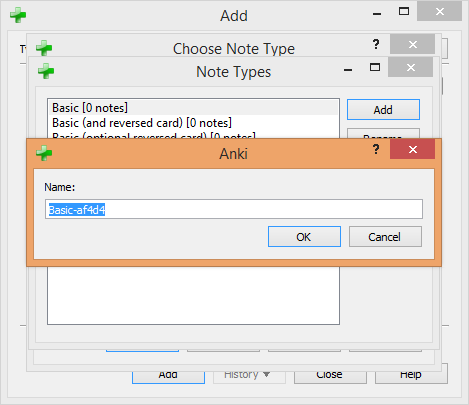
Type in a name and click OK.
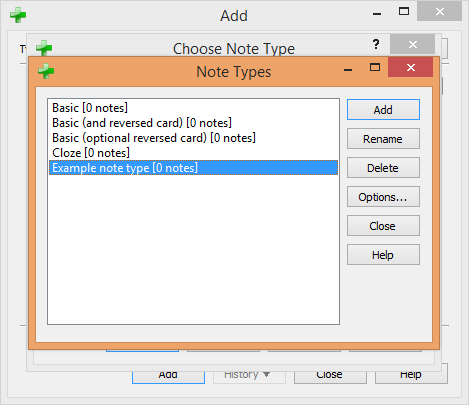
As you can see, we've successfully added a new note type. Now let's return to the Add window by closing all of the extra windows.
Click the Fields... button to open up the field manager.
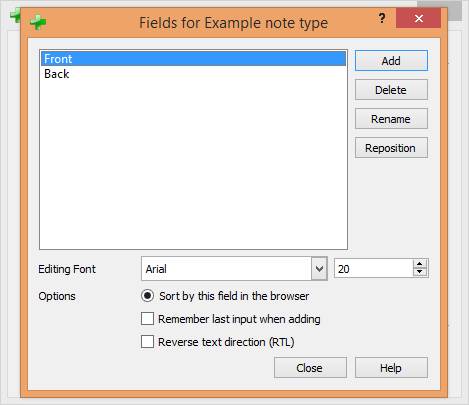
As you can see, there is a rather limited number of fields in our current note type. We'd like to be able to add more information to our cards than just "Front" and "Back".
Click Add and type in a field name, then click OK. Once done, click Close.

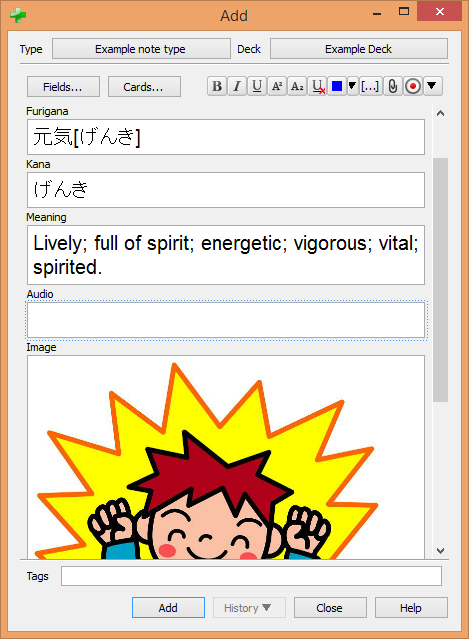
Here's an example of a good list of fields. We've used the Delete button to remove the rather useless Front and Back fields.
Fill everything in as you see fit.
Note that this is just one way of creating a new card. Now that we've set up all the fields, we can turn to a spreadsheet or text editor and input the data, with each field being a separate column and each entry being a separate row, then import that file from File -> Import.... Out of laziness, I've left this out, but it is actually my preferred way of adding cards.
Then click Add.
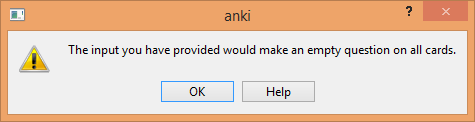
Wait, what? Oh dear! We need to make sure that our card uses some of those fields that we painstakingly added. Click the Cards... button to change the card layout.
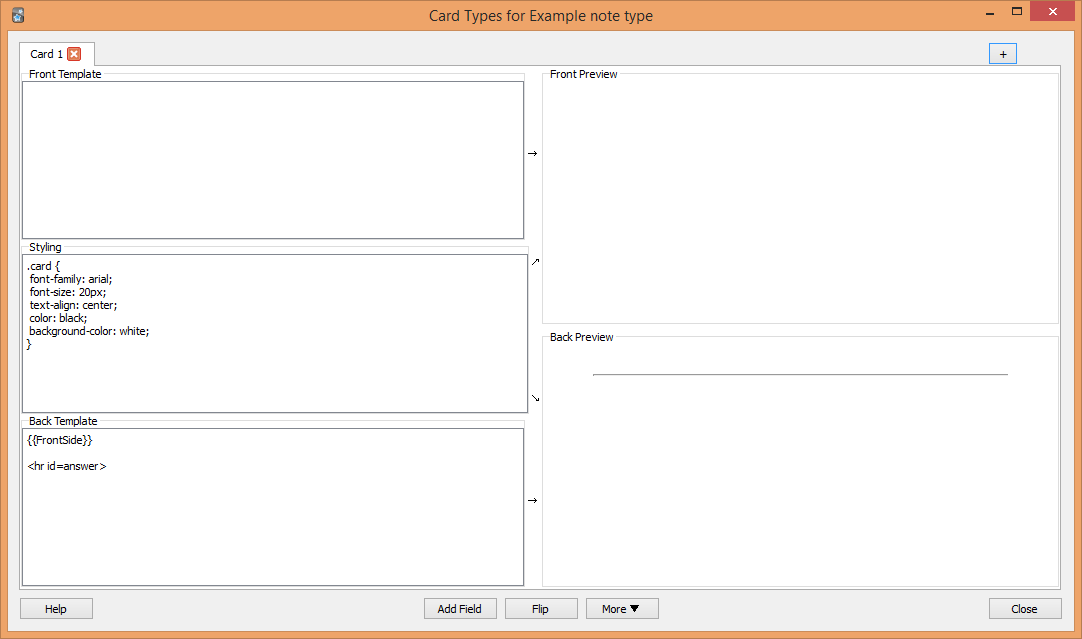
Oof. The card layouts use HTML and CSS. The top is for the front side, the bottom is for the back side, and the middle is for CSS. But don't worry if you don't know what any of that means.
Take the names of the fields you created in the previous steps, and surround them with {{ }} as such: {{Meaning}}
Put this into the top field, and on the right preview area, the contents of the meaning field will show up. Do this for other fields that you want to show up on the front as well. Use <br /> to add line breaks.
Do the same for the back side, leaving the middle untouched if you don't know CSS.
Note that {{FrontSide}}, which is part of the default layout, embeds the contents of the front side of the card on the back side.
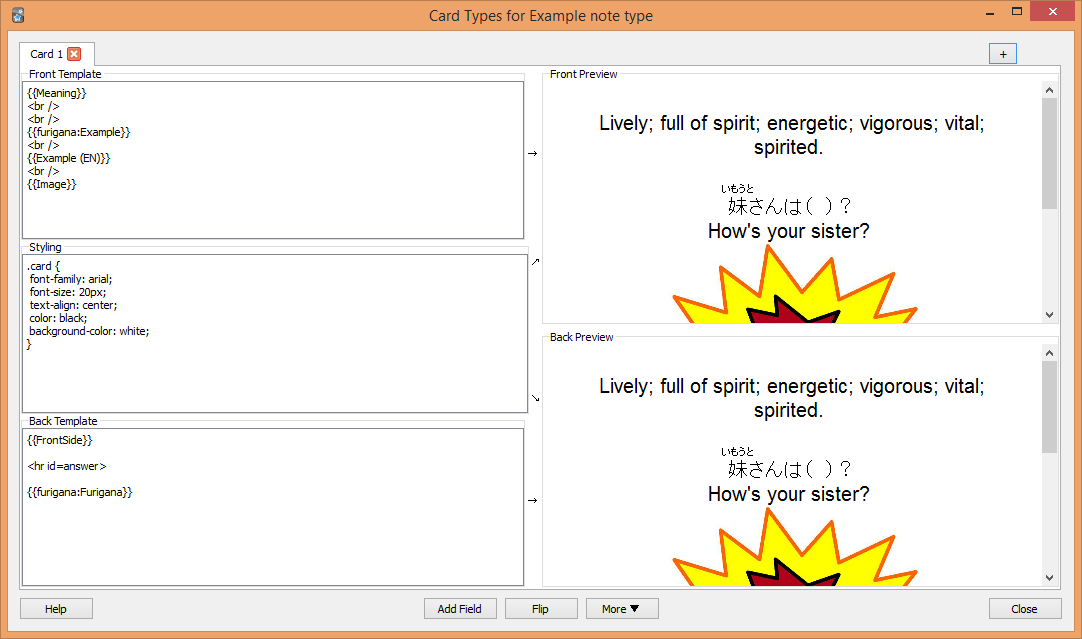
Alright! We've created an English meaning -> Japanese word card. But we can still use the data we keyed in earlier to create more cards, if we want.
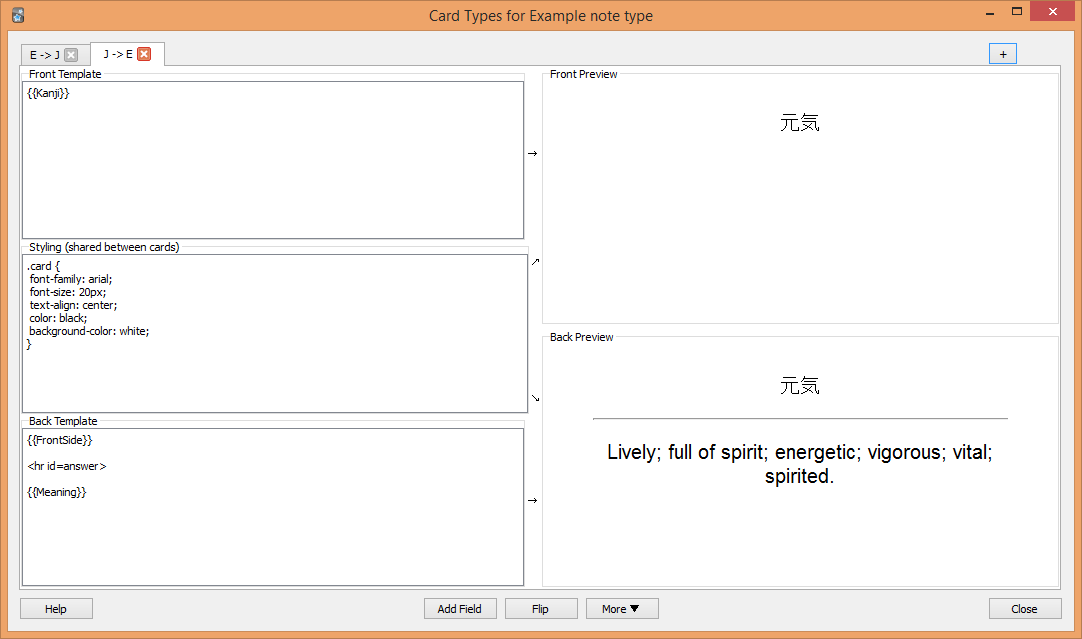
Click the + button at the top right to add a new card type. We can now do the same thing to create a different type of card. Let's create a Japanese word -> English meaning card.
Notice that the card types we've created are named "Card 1" and "Card 2". This is a bit confusing. We can change this by clicking the More button at the bottom, and selecting Rename:
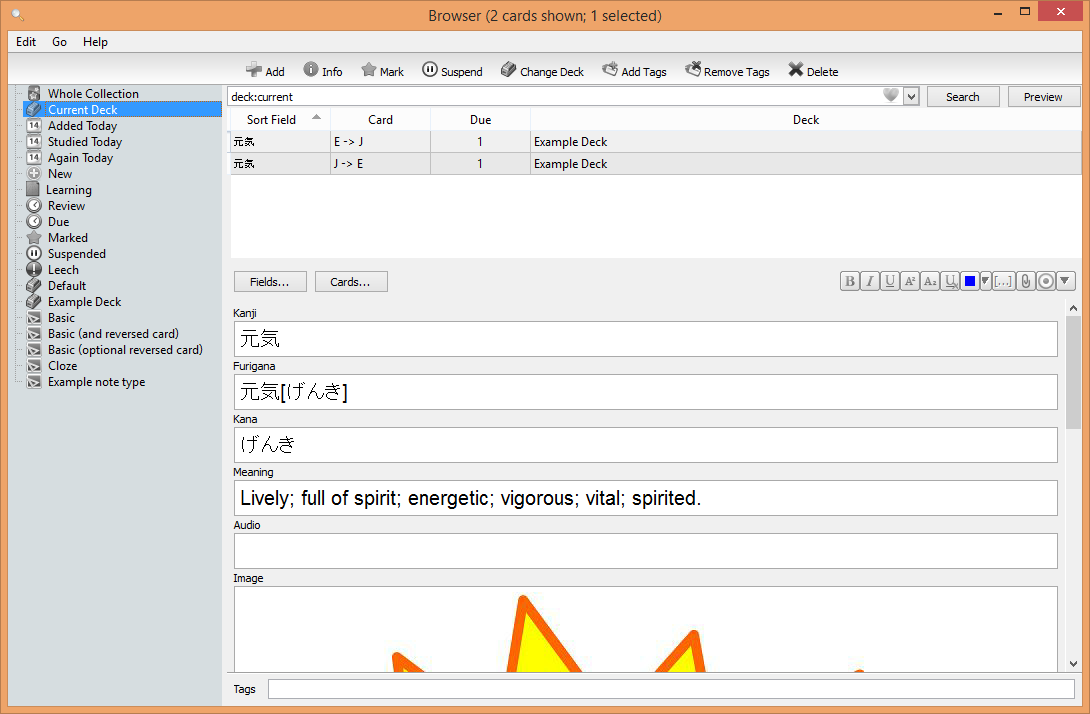
Alright. Now that we've created our first two cards, let's go back to the main window. This time click Browser on the top bar. This will bring up the card browser, which now has the cards we've created:
There are various options for managing and filtering your cards here, which we won't go over. Probably the most useful in my opinion is Suspend, which will stop a card from showing up without deleting it. It'll even preserve the due date, if there is one.
Let's close that and go back to the main window, which should now have the new deck you've created.
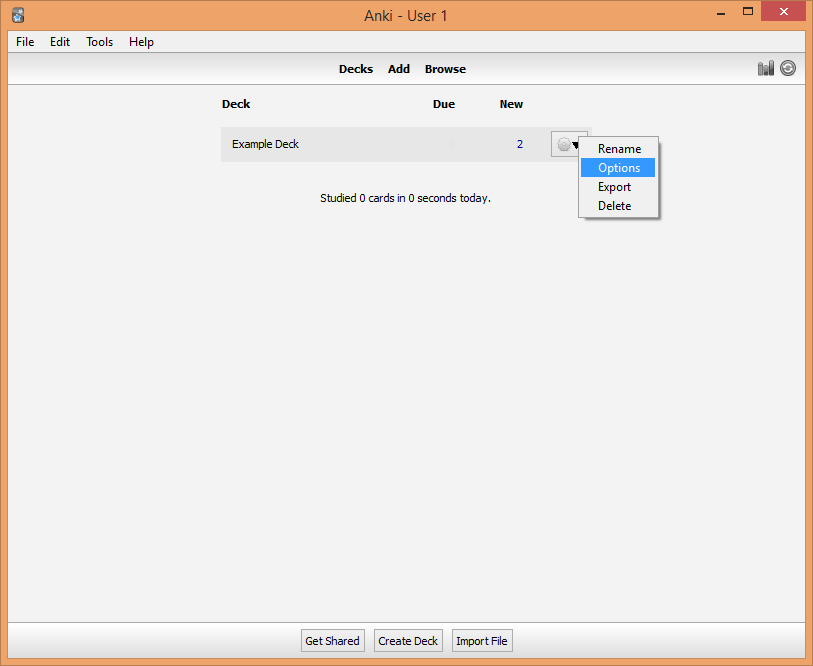
Let's go over the deck options for the sake of it. Click the gear icon next to the deck to bring up a dropdown, and click Options.
The very first dropdown, Options group is a feature that lets you have option "templates" - apply the same options to multiple decks, and change their options all at the same time. For now, you can safely ignore it.
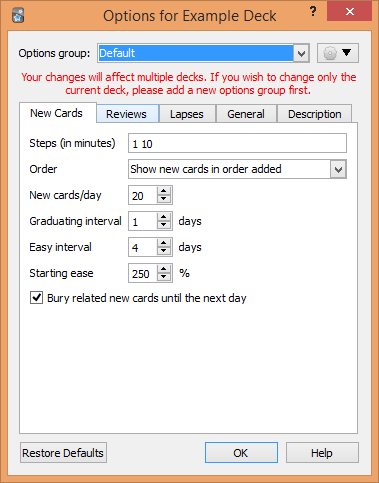
There are five tabs. The first, New Cards, governs the options for new cards.
Steps (in minutes) determines how often a new card will show up before it stops being new. The default is 1 10. This means that for the first time you see a new card, if you mark it as wrong, it'll show up again after at least 1 minute. If you mark it as correct, it'll show up again after a minimum of 10 minutes. However, no matter how many times you have gotten the card correct, if you get it wrong once, the "steps" will restart and it'll show up after 1 minute. You can make yourself require new cards to be reviewed multiple times. Putting 1 5 10 15 20, for example, will make new cards show up a minimum of 5 times. If you get it wrong at the 20 step, you'll start over at 1. If you get it right, though, the card will no longer be new, and will show up after the Graduating interval, which by default is 1 day.
The Order dropdown determines what order new cards will appear in - either in the order they are added, or in random order.
New cards/day determines the limit for how many new cards, maximum, will appear per day.
When reviewing new cards, you can also mark them as "Easy". The card will "graduate" from being new, and in addition, only appear again after Easy interval days.
The Bury related new cards until the next day checkbox determines if new cards of different types, but from the same note, will appear on the same day. We earlier created E->J and J->E cards for the same "note". If this is checked, when we review a new E->J card, the corresponding J->E card will not show up again that day, and vice versa.
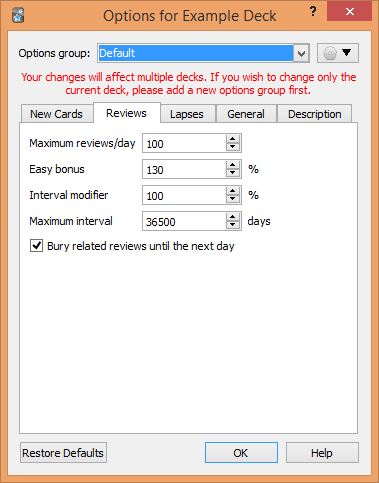
The next tab, Reviews, governs the options for reviews - basically all cards that are not new.
Maximum reviews/day is the upper limit for how many reviews will show up per day. This does not count cards that you get wrong - so even if you get a card wrong 100 times in a row, you will still have 99 cards to review. I would recommend increasing this, as 100 reviews per day is really not a lot.
Easy bonus and Interval modifier affect the length of intervals between reviews. Unless you know what you're doing, don't change these.
Maximum interval determines the maximum length of time between reviews. By default, this is 100 years. This means that if you consistently get a card correct, eventually it will take 100 years between appearances.
Bury related reviews until the next day is similar to the Bury related new cards until the next day option, except for reviews instead of new cards.
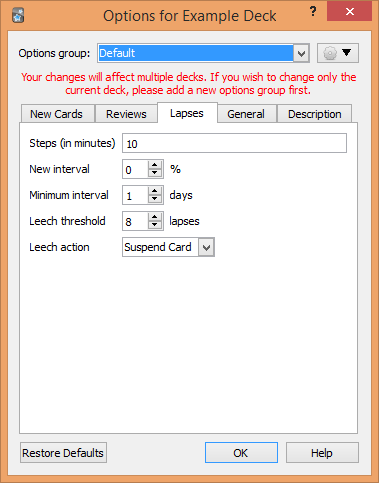
The next tab, Lapses concerns lapses - when you get a review (non-new) card wrong.
Steps (in minutes) sets how long Anki should wait before showing you that card again. You can add more numbers, separated by spaces, to make it show up multiple times before "graduating" again.
Minimum interval sets the minimum amount of time before a lapsed card will appear again after you get it right.
Leech threshold and Leech action are an automatic process that will tag a card as a "leech" after a certain amount of lapses. You can choose what the leech tag does - either nothing or suspend the card.
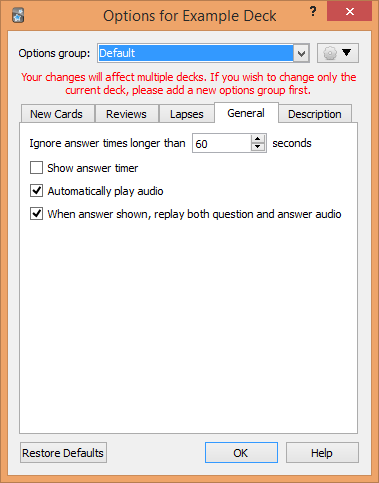
The next tab, General contains a few miscellaneous options.
Anki keeps track of how long you take on each card. Ignore answer times longer than ... will stop Anki from counting times longer than 60 (default) seconds. Useful if you often go AFK and don't want to screw up your time statistics.
Show answer timer, when checked, will show a timer in the bottom right corner, showing you how much time you've taken on the current card.
Automatically play audio will automatically play audio, in succession, when checked. If unchecked, you will have to manually press the shortcut/button to play audio for cards.
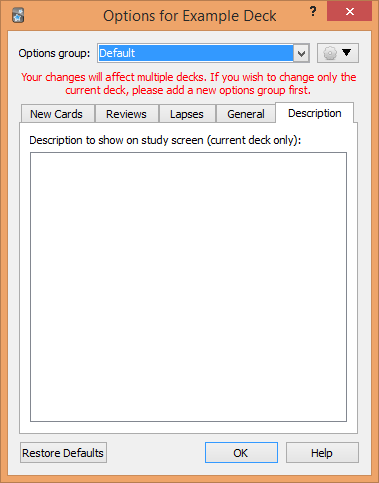
In this tab, you can set a description, which appears when you select a deck by clicking it, and nowhere else. I don't see the point but maybe you have a good use for it.
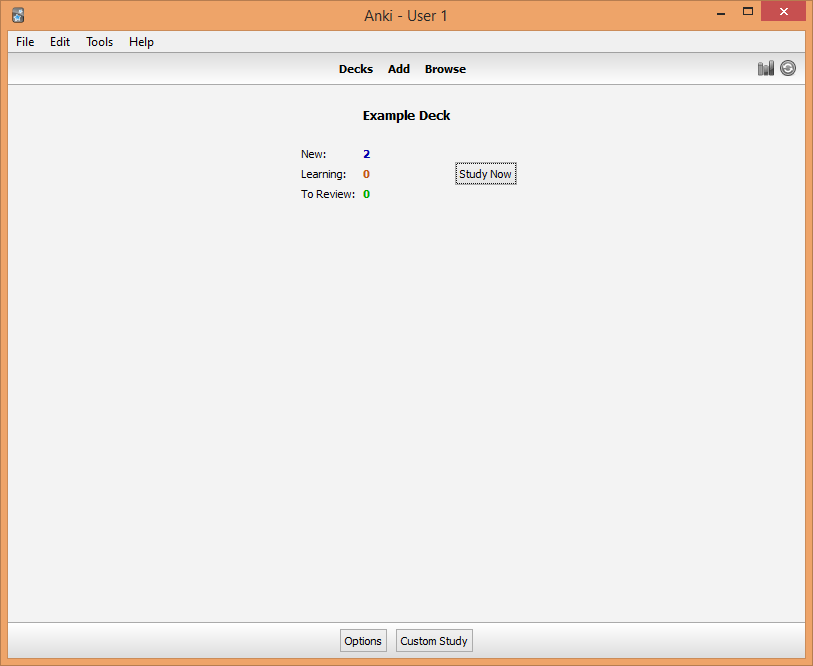
Enough with that, let's start reviews. Go back to the main screen and click a deck.
From here, you can edit the options (what we just did), study, or set up a custom study deck.
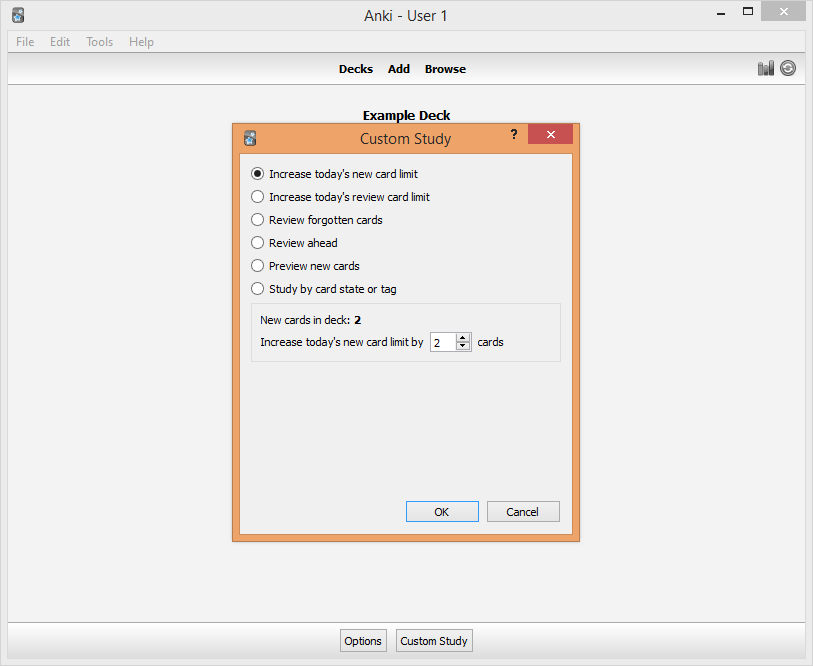
The custom study options. I won't go through them as I don't use them very often, but they're a powerful feature that some people might find very useful.
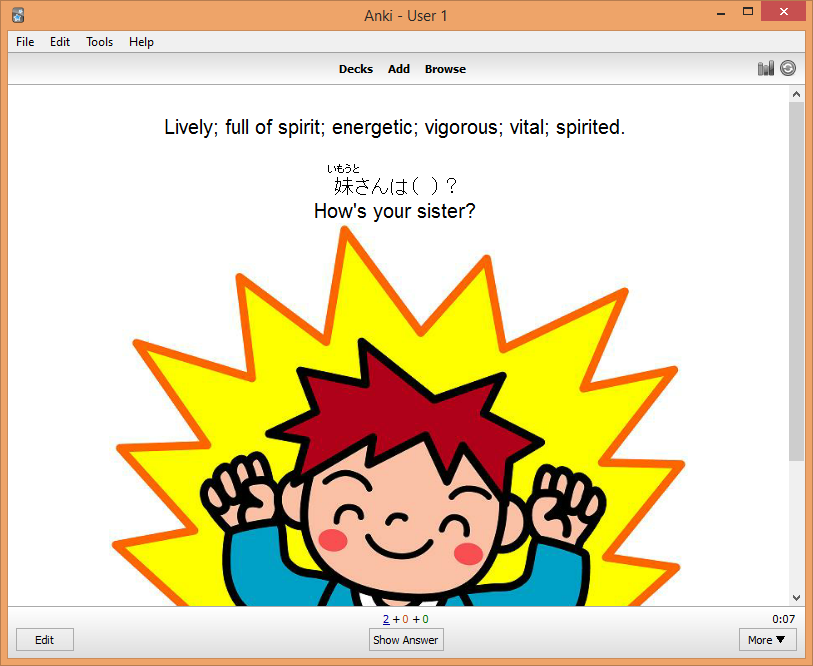
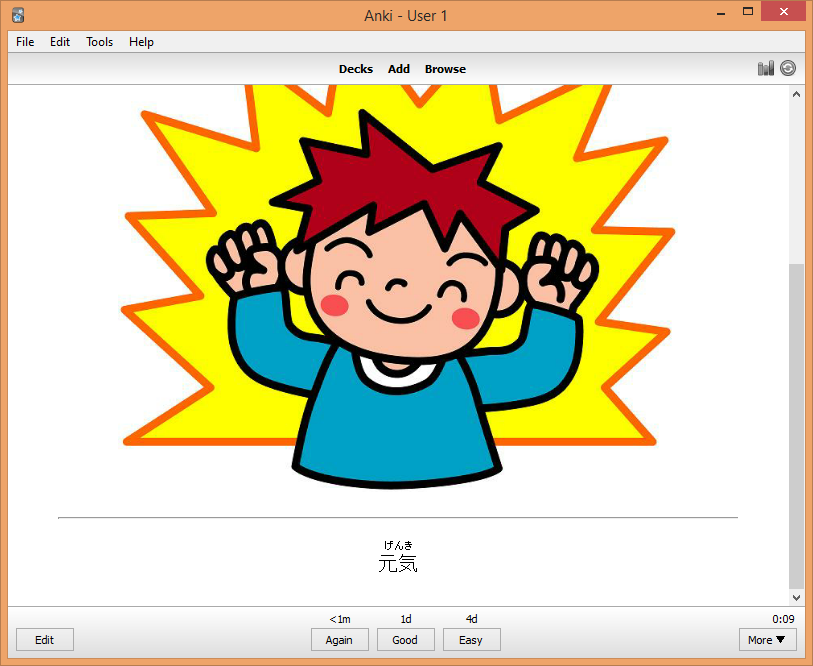
Click Study and you'll be presented with a card:
Click Show answer when you're ready:

You now have 3 options. Click whichever button you feel is most appropriate. Generally, Again is for when you get it wrong, or you really feel you need to do it again. Good is for when you got it correct. Easy is for when you got it correct, and you felt it was very easy. These are just my perceptions, though.
In this case, I selected "Good". Let's take a second to go back to the main screen.
Note that instead of 2 New cards, after doing 1 review, we now have 1 Due. This is because of the Bury related new cards until the next day option, which was checked. Since we already got the E->J card, the J->E card won't show up until tomorrow.
Back to the task at hand.
Note that the numbers above each of the options have changed. This is because I've already got it correct once. If my steps for new cards were 1 10 20, the number above the "Good" button would be 20m instead.
Yay!
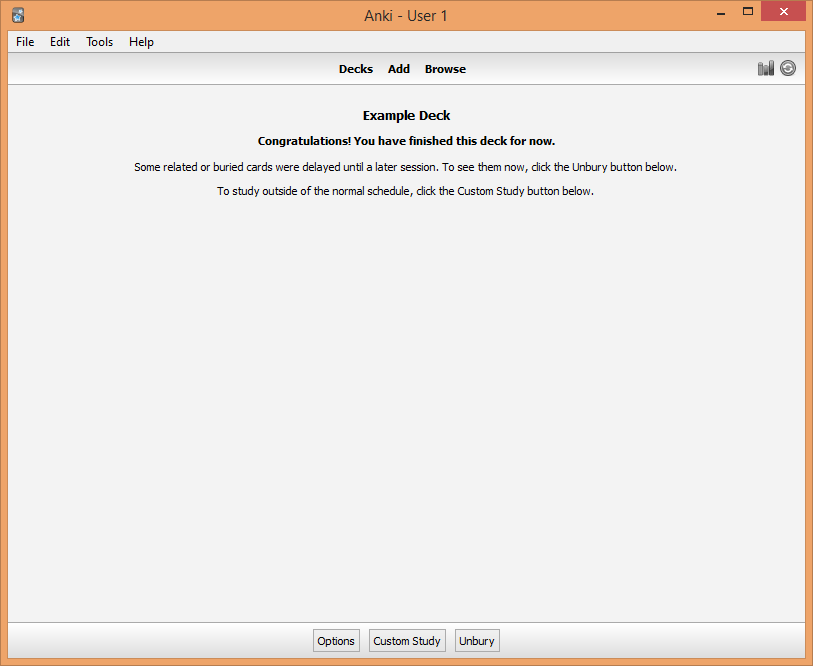
Back to the main screen:

We can see at the bottom how long it took to complete today's reviews, and how many cards we went through how many times.
Now let's click the bar-graphy icon at the top-right, next to the Sync button:
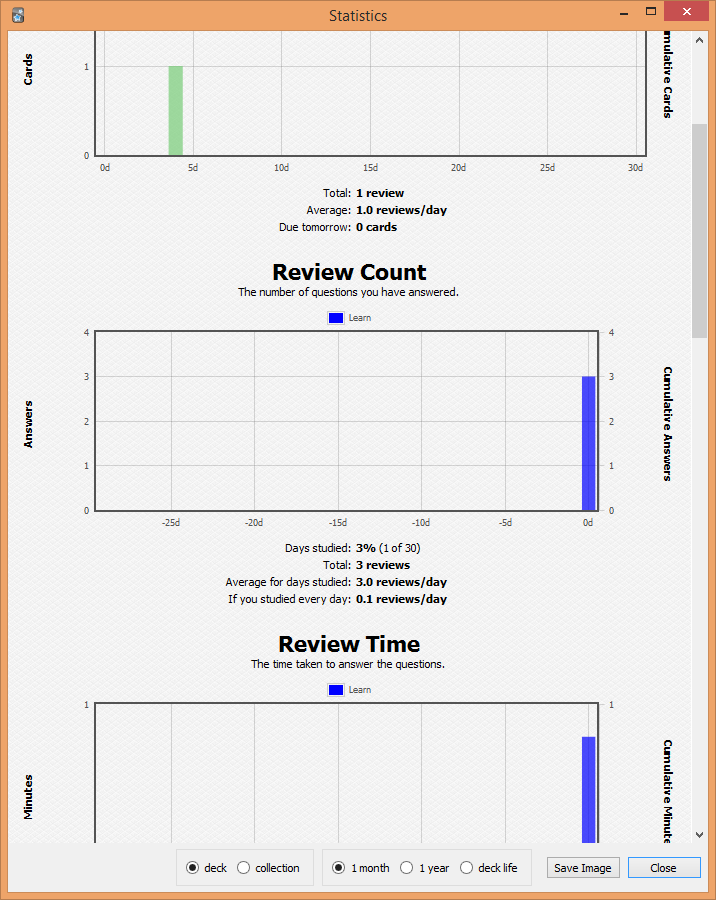
This is one of my favourite Anki features. This is a statistical overview for your current selected deck (highlighted in light grey), complete with pretty graphs.
Let me know if you still have any questions, and I'll try my best to answer them.